

覆盖各种屏幕的安卓硬件。
八大产品系列,全部基于自研主板与固件。
安卓主板与核心板
KTM 系列主板,每款都在 Wiki 中有文档。

安卓触摸一体机
适用于壁挂、立式和桌面安装的触摸一体机。


出厂前完成老化
每台设备都在老化架上连续运行 1–2 天。
数字标牌显示器
条形屏、电池供电、扫码屏和异形屏。

自助终端
信息查询、点餐和票务自助终端。


同一座工厂,从主板到包装
主板、屏幕和外壳在深圳组装成整机。
开放式框架显示器
内嵌于自动售货机、自助终端和设备中。

电子纸显示器
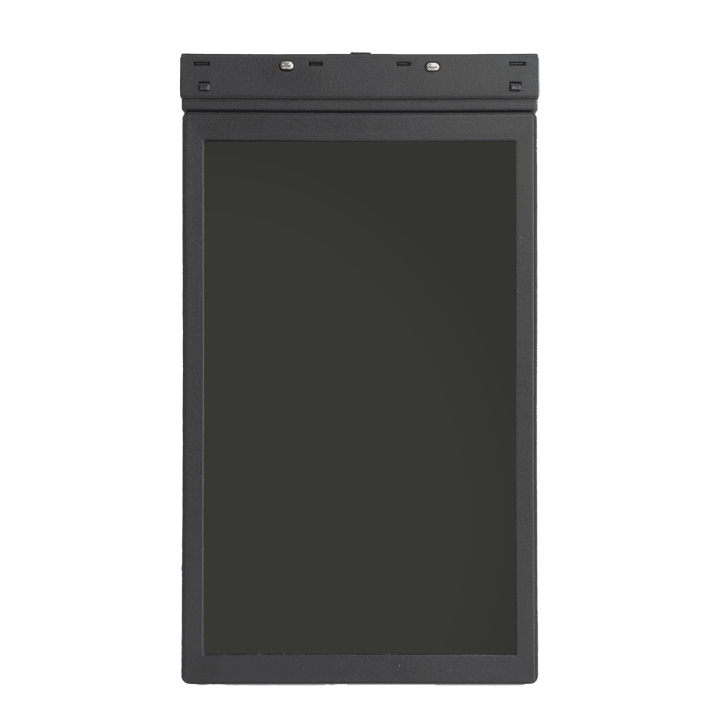
13、25.3 和 32 英寸超低功耗电子墨水标牌。

价签显示屏
零售货架与价签显示屏(ESL)。

固件自主开发
在产线烧录和检查,而不是到现场再打补丁。
安卓盒子
媒体播放器与边缘 AI 盒子。
五个层次,由同一个团队完成。
多数供应商只做组装。我们打造整套技术栈——所以项目需要时,任何一层都能修改。
- 盖板玻璃
钢化或防眩光玻璃,按您的外壳定制尺寸和形状。
- 触摸传感器
投射电容触摸,与面板和外壳匹配调校。
- 显示面板
LCD 与电子纸面板,从小尺寸到 65 英寸,包括条形屏与异形屏。
- 主板
基于瑞芯微与晶晨芯片的自研 KTM 主板,配置设备所需的接口。
- 固件
带系统 API、Kiosk 锁定和 OTA 升级的 Root 安卓固件——全部自主开发。


三个入口。
我需要硬件
按类型、芯片和尺寸筛选主板、触摸屏和自助终端。不标价格——只有来自研发数据的真实规格。
浏览产品 02 · 做定制我有项目
主板、固件与外壳定制——从首批样品到量产。
开始项目我需要支持
输入型号,查找对应的文档、固件和保修服务。
真正由您掌控的固件。
我们的安卓固件已 Root,您的应用可以直接管理设备——无需平台签名,也无需设备所有者模式。
- 系统 API。 定时开关机、显示、Kiosk 模式、网络和 GPIO,一个类即可调用。
- Kiosk 锁定。 隐藏系统栏,开机直接启动您的应用。
- OTA 升级。 为已部署的设备推送固件更新。
- 定制固件。 为您的项目修改固件是我们的服务,而不是例外。
// Every day: off at 23:00, on at 07:30
ItempApiPub.setPowerOffTime(context, "23", "0", "0", true);
ItempApiPub.setPowerOnTime(context, "7", "30", "0", true);
从问题出发,而不是从零件出发。
针对我们最常见项目的成熟配置。


从第一次沟通到量产。
- 需求沟通
需求梳理、芯片选型与可行性评估。
- 样品
包含您固件修改的工程样品。
- 验证
客户端测试与小批量试产。
- 量产
在深圳工厂生产与测试。
- 上市之后
为您的设备群提供固件更新与文档。
亲眼看看我们的产线。
来自深圳龙岗工厂的实拍画面——也欢迎您亲自来看。

工程师最先问我们的问题。
答案来自我们的常见问题库——也是网站助手将使用的同一来源。
Web Publish #1
Web Publish #1
Do I need platform signing or device-owner mode to control the device?
No. iTEMP firmware runs with root (SU) privileges, so a normally signed APK — even a debug build — can call every function in our system API: power schedules, display, kiosk lockdown, network and GPIO.
On stock Android these actions need a platform key or device-owner provisioning; on our boards they are one method call. Start here: ItempApiPub overview.
What can you customize for our product?
Every layer, because we build all of them:
- Firmware: system behaviour, kiosk lockdown, preinstalled apps, boot logo and animation, default settings, OTA delivery.
- Mainboard: I/O mix (RS232/RS485, GPIO, LAN, USB), display interface, size and connector placement.
- Display: panel, touch sensor and cover glass; open frame or finished unit, including stretched and special shapes.
- Enclosure and branding.
See Engineering, or start a project.
Which SoC should I choose for my project?
Start from what the device must do:

Each chip has a reference page listing the boards that use it: SoC reference. Not sure? Describe your project and we will recommend a board.
Can I read the documentation before I buy?
Yes. The developer wiki is public, with no account and no NDA: board pin tables and serial maps, flashing and MaskRom recovery, the full system API and on-device AI guides. Engineers usually check it before choosing a board.
What is the minimum order quantity? Can we order samples first?
It depends on how much is customized: a standard board or display, modified firmware, or a fully custom device each have different minimums. Engineering samples are the normal first step of a custom project.
Share your expected quantity and timeline in Start a project, and we will reply with options for samples and production.